Brush Care & Cleaning (Watercolor & Acrylic)
Brush Care & Cleaning
(Watercolor and Acrylic)
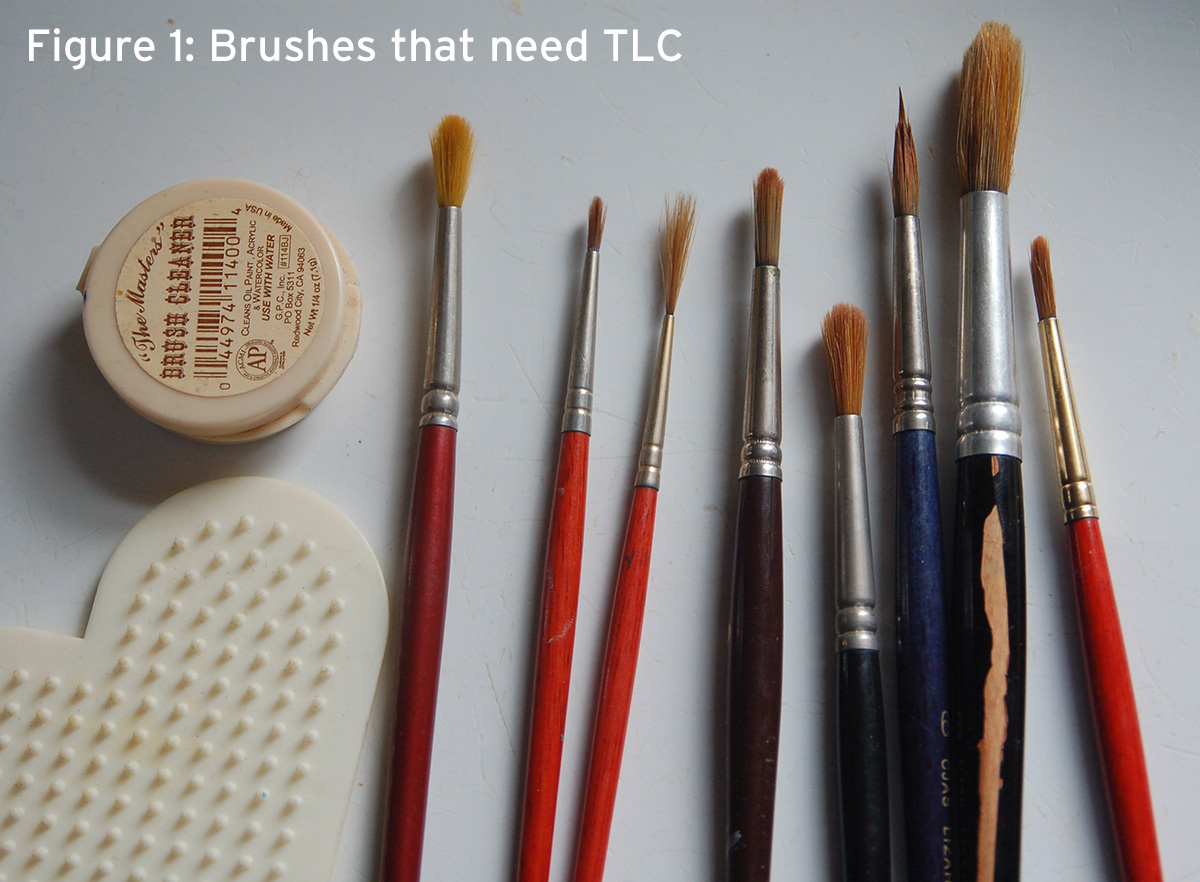
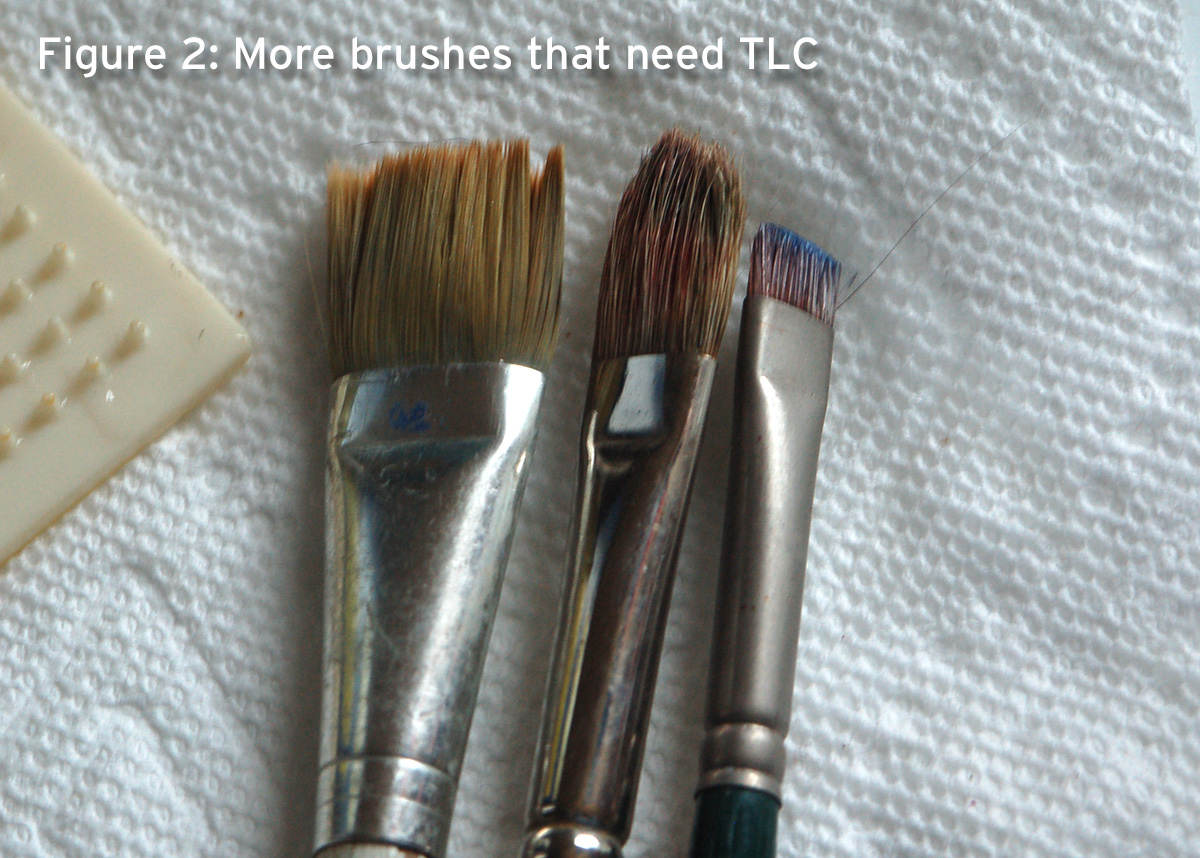
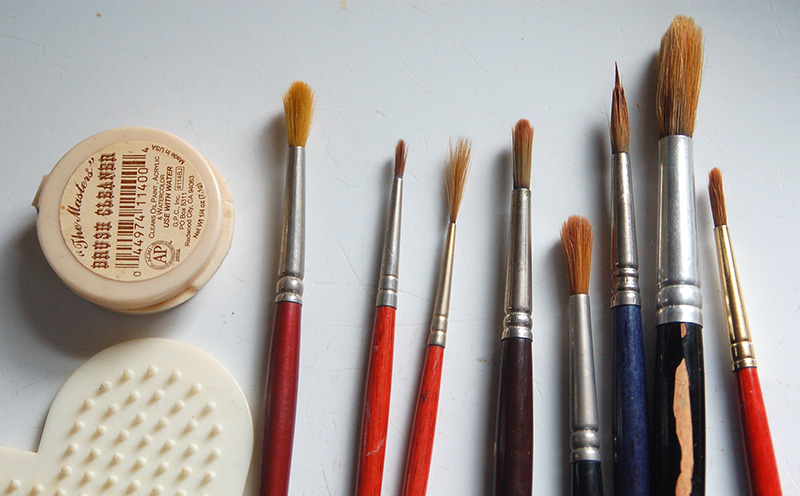
Brushes are usually expensive and we try to take care of them, but despite our best efforts, we all have dozens of brushes that have lost their points, are clogged up with paint we didn’t clean out properly (oops!) or sort of look like they’re having a bad hair day! (Figure 1, mostly watercolor brushes; and Figure 2, acrylic and/or other mediums)
What do we do?
In most cases, we can rehab them! They won’t be brand new, and that one with the pointy point that we love won’t be pointy anymore, but they’ll regain some life and usefulness.
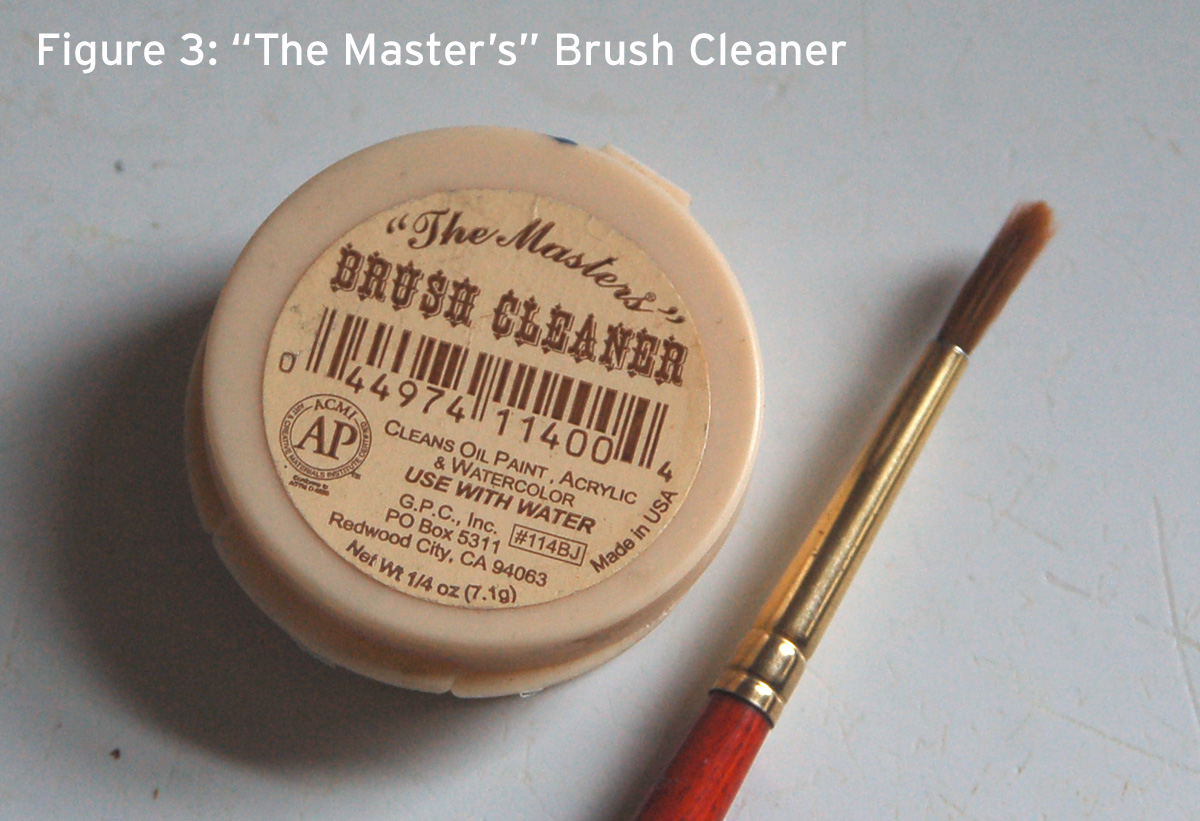
I use The Masters Bush Cleaner. It cames in many different sizes from a 1/4 ounce (shown here) to large (24 oz) jars. Most art supply stores carry it. (Figure 3)
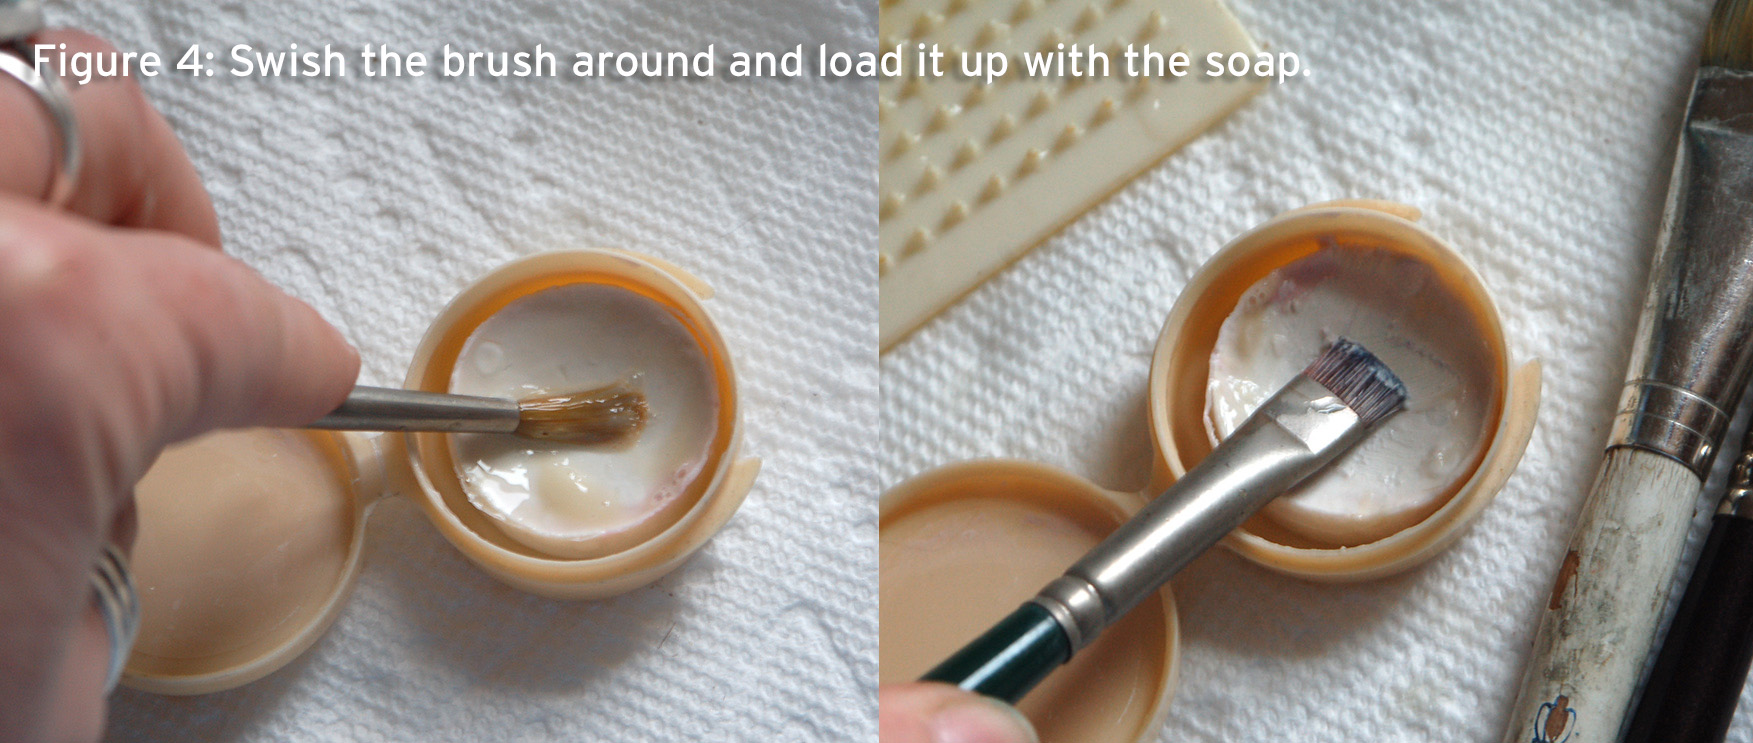
(Figure 4) Wet the brush and the little cake of soap and swipe the brush around in it (like you’re using a cake of watercolor). Get it really loaded up with soap. You can work the soap in with your fingers, gently massaging it into the bristles or hairs.
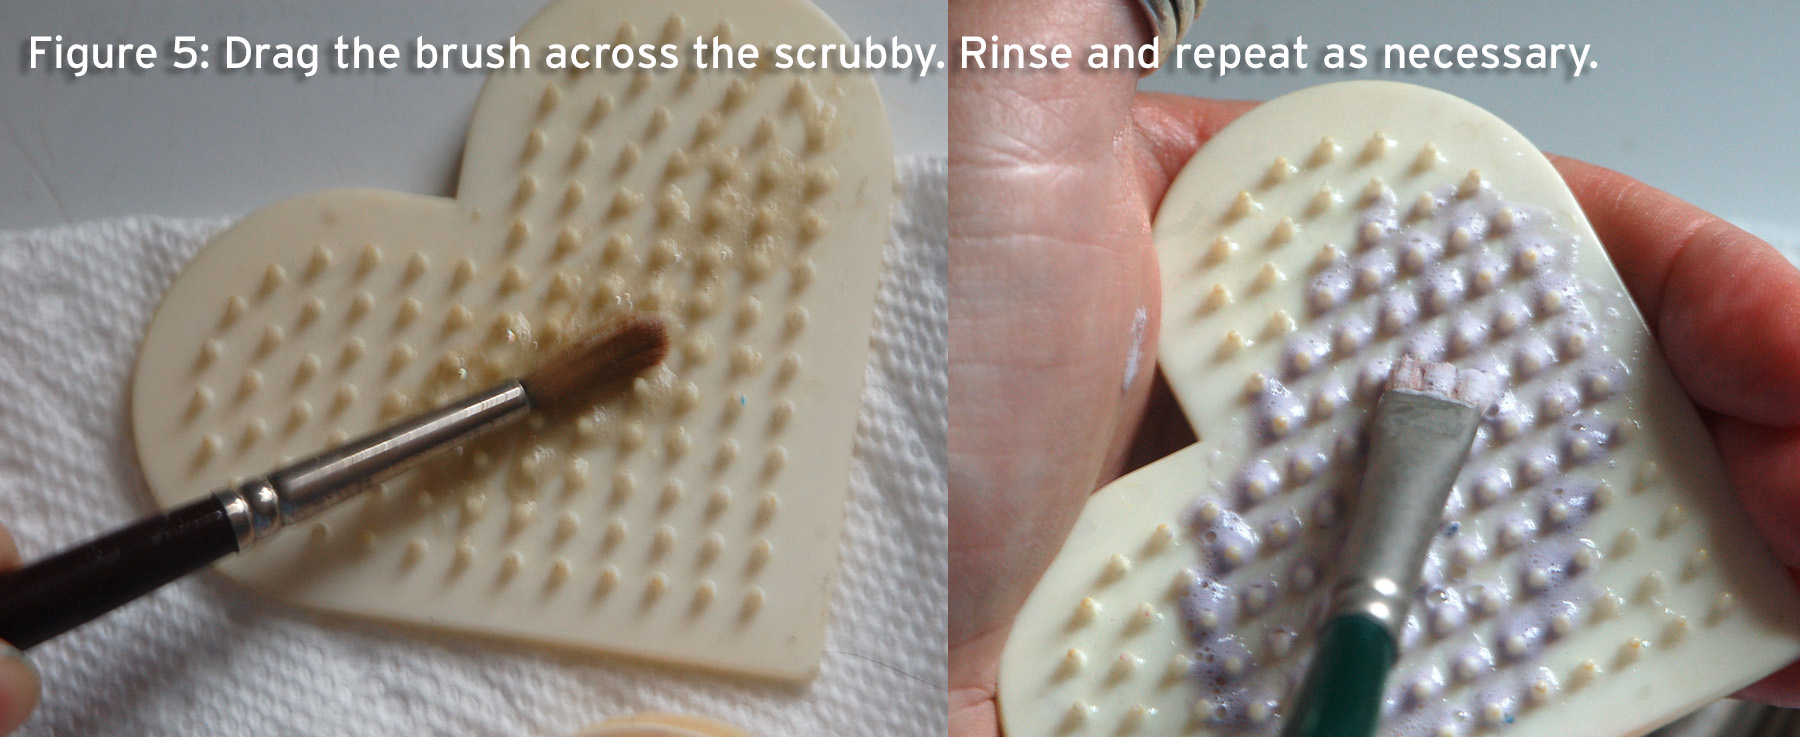
(Figure 5) Drag the brush across the brush scrubby (also known as brush grooming pad). Be sure to get right up to the ferrule. You’ll see paint being lifted out. You can rinse and repeat as much as is necessary.
I use a brush scrubby made by Royal Brush, but there are many different brands and kinds. They make ones to clean makeup brushes that can be found in discount “dollar” stores. This one is hard plastic but they make them of silicone as well.
I’m gentle with my watercolor brushes. but I apply more force with synthetic acrylic, hog hair or bristle brushes.
(Figure 6) Brushes that are splaying out or splitting generally have paint down in the ferrule. It’s important to get as much paint out as you can. Work it in with your fingers, and wiggle the bristles back and forth. Really stubborn paint can be picked at with a pin or pushpin.
I’ve had success with loading up the brush with either the brush conditioner or Dawn dishwashing soap, letting it sit a few hours or overnight (flat) and using the brush scrubber again.

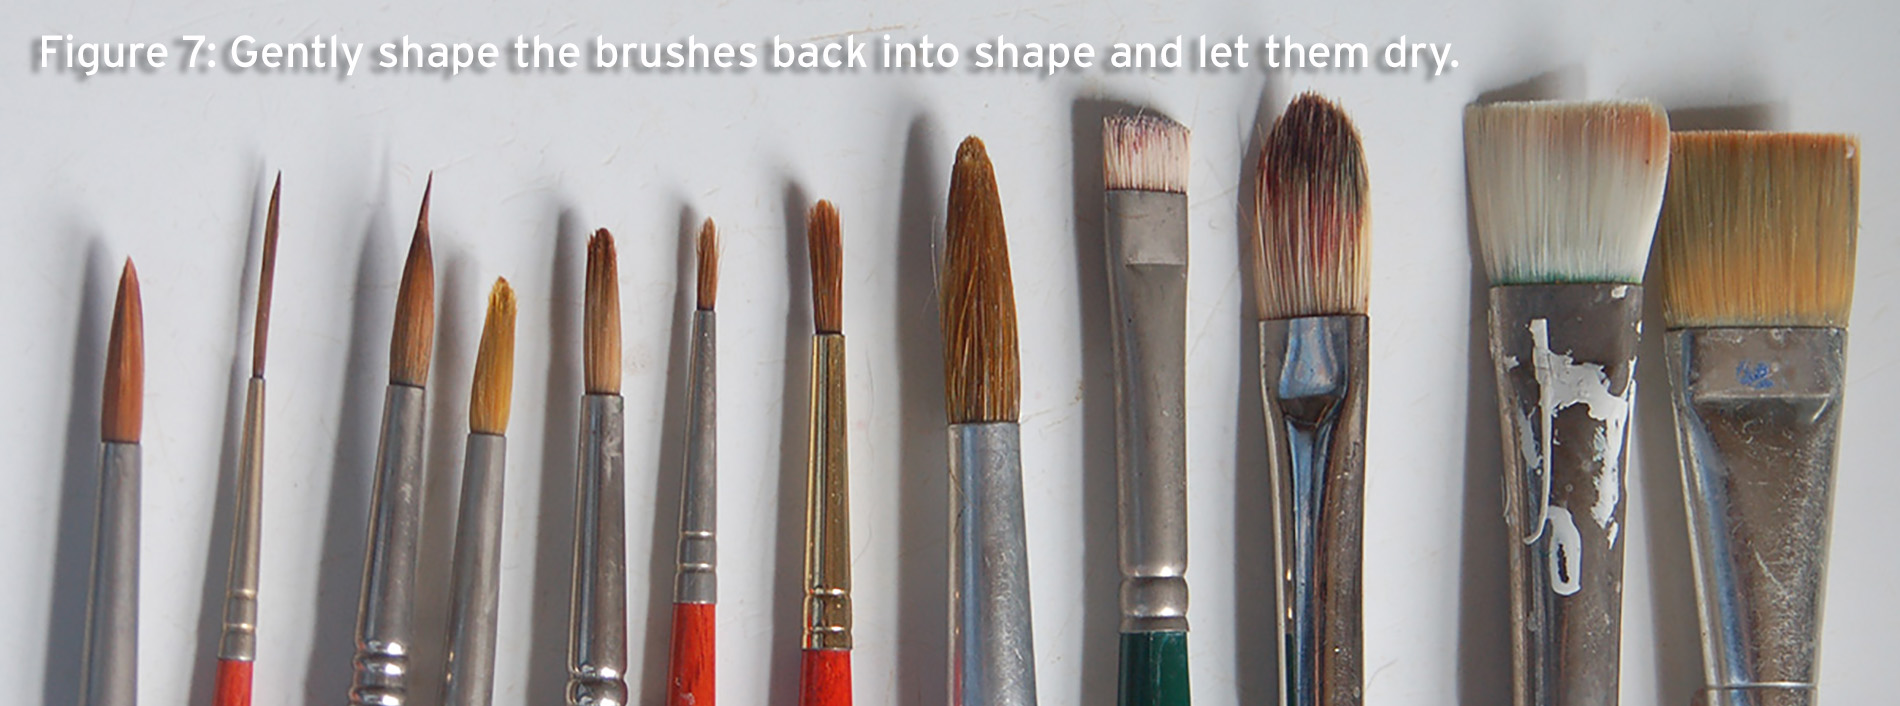
(Figure 7) Gently shape the brushes into the right shape – flats squared off, bristles all together, rounds to as good a point as to can make. Let them dry either on a flat surface, or upright. There’s no need to rinse them out until you’re ready to use them.

Sue Herbst is the Programming Manager at The Art Guild. She coordinates classes and workshops with instructors from around the country and works with the Gallery Committee and her colleagues to coordinate, curate, and present exhibits in the gallery. (She always welcomes your suggestions for workshops and classes!) She also creates the flyers, newsletters, signage and some of the postcards for exhibits and other events at The Art Guild.
Practically raised in the Town of Islip Recreation Department, Sue has been around the arts, crafts, puppetry, and ceramics most of her life. She’s worked at paint-your-own-pottery-stores from Garden City to Greenport, teaching and encouraging customers in not just painting pottery but mosaics, glass painting, and beading. She is also a graphic artist working in the printing industry for more than 30 years. Annually she creates The Mermaid for the Great South Bay Music Festival posters, advertising and t-shirts.
Sue’s favorite mediums are watercolor, pastel and colored pencil, and she is fully capable of getting into a lot of “trouble” in any art store. Libraries and bookstores are also considered “danger zones.” Her work can be found at her Facebook page Mermaid Sue’s Studio and on Fine Art America & Zazzle.
She attended School of Visual Arts for Illustration.
